Off-Road Electrical System Guide for Beginners: How It All Works (Plain English)
You bought the light bar. You picked out the pods. Maybe you're eyeing a compressor, a fridge, a winch, or a full switching system. Now you're staring at your truck's engine bay thinking: where does all of this stuff actually connect?
If that sounds familiar, you're in the right place. Off-road electrical work has a reputation for being intimidating, but here's the truth: the concepts are simple once someone explains them without jargon. That's what this guide is for.
You don't hate wiring. You hate not having the tools and knowledge handy to do your own wiring. We change that.
We're going to walk through every piece of a vehicle's electrical system in plain English: what each component does, how they work together, and how to plan your build so it's clean, safe, and easy to wire.
Your Vehicle's Electrical System: The 30-Second Version
Every 12-volt vehicle electrical system works on the same basic loop. Your battery stores power. Your alternator replenishes it while the engine runs. Positive wires carry current from the battery to your accessories, and negative (ground) wires complete the circuit back to the battery.
That's it. Every light bar, compressor, fridge, and winch you'll ever install follows this same loop. The only variables are how much current the accessory draws and how you control when it turns on and off. Everything else - fuses, relays, switches, harnesses - exists to make that loop safe and manageable.
The Building Blocks: Every Component Explained
Wires - The Highways
Wire is the highway that electricity travels on. Thicker wire carries more current, just like a wider highway carries more traffic. Wire thickness is measured in AWG (American Wire Gauge), and here's the part that trips people up: the numbers run backward. A 10 AWG wire is thicker than a 16 AWG wire.
For off-road builds, two factors determine the gauge of wire you need: the accessory's amp draw and the length of the wire run. Longer runs need thicker wire because voltage drops over distance - this is called line loss, and it's why a light bar on a 20-foot wire run needs heavier gauge than the same light bar on a 6-foot run.
Quick Reference Chart For Wire Sizing

Pro tip: Always use stranded wire, never solid core. Solid wire is rigid and will crack under the constant vibration of an off-road vehicle. Pure copper, American-made wire with a high-heat-resistant jacketing (the rubber-like outer layer), is the gold standard, and it is what we use.
We go deeper on wire selection in our wire sizing reference guide if you want more info on the full amp-draw charts.
Fuses - The Safety Net
A fuse is a deliberate weak point in the circuit. If something goes wrong - a wire gets pinched, a connection corrodes, a short circuit happens - the fuse blows first, cutting power before the wire can overheat and start a fire. Every circuit in your build needs a fuse, or needs to be connected to a smart device to act as a fuse - no exceptions.
Fuse sizing is straightforward: match the fuse to the wire's capacity, not the accessory's draw. The fuse protects the wire. So if you're running 14 AWG wire rated for 15 amps, a 15-amp fuse is the right call even if the light only draws 8 amps.
For builds with multiple accessories, a fuse block keeps everything organized. Instead of running individual fuse holders all over the engine bay, you bring one main power feed to the fuse block and distribute from there. Clean, central, and easy to troubleshoot.
Relays - The Bouncers
A relay is an electrically controlled switch. It lets a small, low-amp signal (from your dashboard switch, upfitter, or switching system) control a big, high-amp circuit (your light bar). Think of it like a bouncer at a door - a small tap on the shoulder tells the bouncer to open the gate for a crowd.
Without a relay, the full current of your accessory flows through the switch and the thin wires running into your cabin. That's a fire risk. With a relay, only a tiny trigger signal goes through the cabin wiring. The heavy current stays under the hood, traveling a short, thick path from battery to relay to accessory.
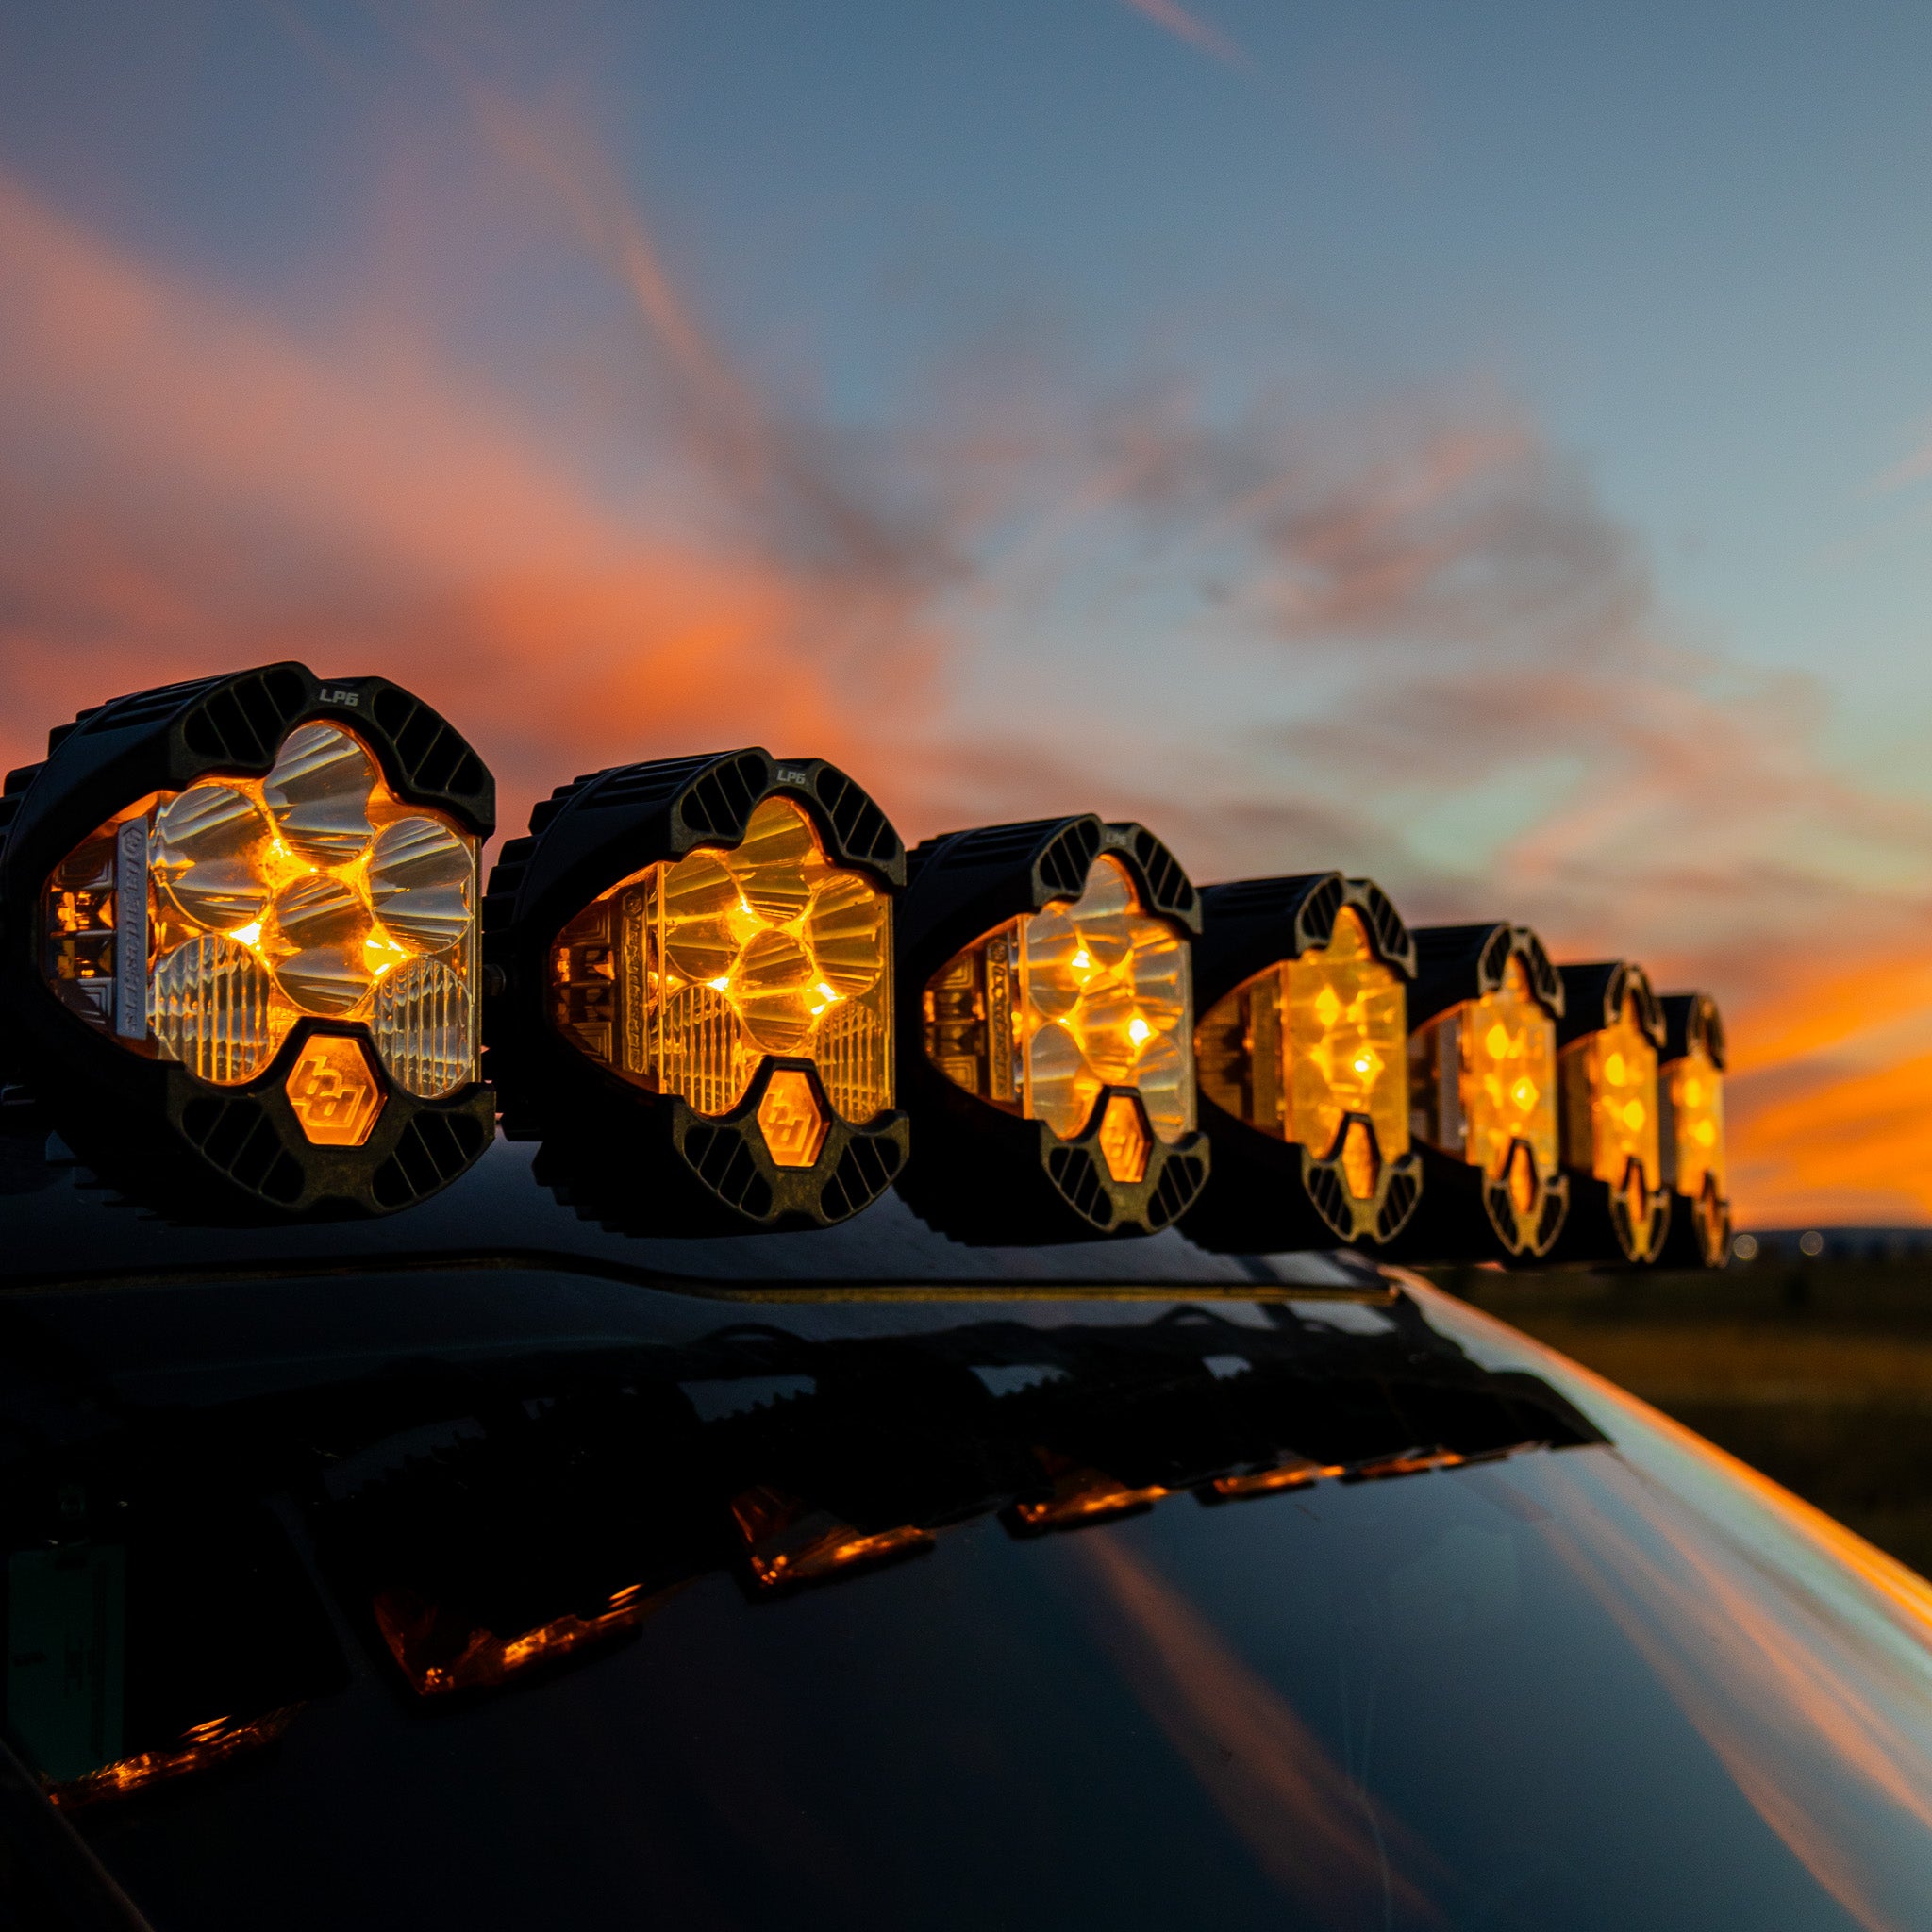
Any accessory drawing more than about 5 amps should run through a relay. Most off-road lighting absolutely requires one.
We will get to switching systems shortly, but they act like a group of relays. Controlling multiple circuits in one convenient spot, and with a ton of extra benefits as well.
Switches - The Controls
Switches are the user interface of your electrical system — they're how you tell accessories to turn on and off. You've got a few options here, and they range from simple to very capable:
Toggle and rocker switches are the traditional approach. They're mechanical, straightforward, and cheap. The downside is that each switch needs its own wiring run through the firewall into the cabin, which adds up fast if you're running five or six accessories. This can get messy, confusing, and hard to keep organized.
Switch panels combine multiple rockers into a single unit. Cleaner than individual toggles, but you're still running individual wire bundles.
Solid-state switching systems like the Garmin PowerSwitch are the modern approach. Instead of mechanical switches, a single control box mounts under the hood. All your accessory leads connect to it, and you control everything through a phone app, a Garmin GPS unit, your head unit, or physical buttons/ upfitter switches. It drastically reduces the wiring required through the firewall and offers features like dimming, strobe patterns, and automatic triggers that no mechanical switch can match.
Modern switching systems like the Garmin PowerSwitch are far safer, far easier, and far more convenient than older physical switch-style systems.
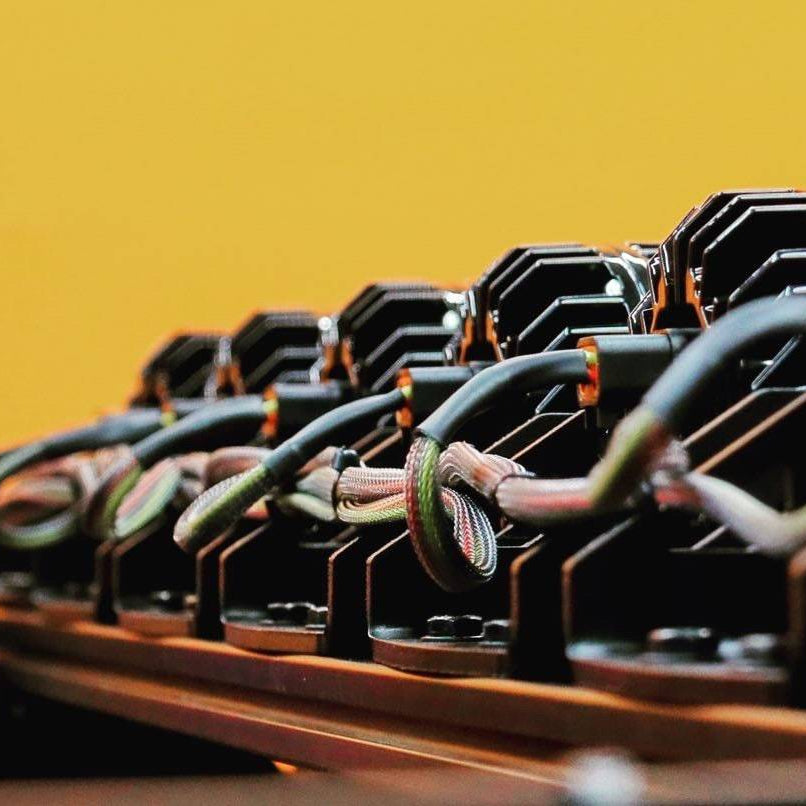
Connectors - The Handshakes
Connectors are where wires meet. In off-road environments — dirt, water, vibration, temperature swings — connection quality matters a lot. A loose or corroded connection creates resistance, which creates heat, which creates problems.
The most common connector types you'll encounter in off-road lighting are Deutsch (DT/DTP) connectors and Weather Pack connectors. Both are sealed and weatherproof. If your lights use a specific connector type, make sure your harness matches - or you'll be cutting and splicing, which defeats the purpose of a clean install.
Grounding - The Return Trip
Ground connections are the most overlooked and most failure-prone part of any electrical build. The ground wire completes the circuit - electricity flows from the battery's positive terminal, through the accessory, and back through the ground to the battery's negative terminal.
All Blaze Off-Road Switching system kits provide a safe and easy grounding location via a Blue Sea Systems ground bar (buss bar).
A ground bar or ground bus gives you a single, solid grounding point for multiple accessories. Run one heavy ground cable from the battery to the bar, then ground all your accessories to it. This eliminates the most common source of electrical problems in aftermarket builds.
Most vehicles use the metal frame as a shared ground path for factory circuits, but this should NEVER be done with aftermarket accessories. Your factory electrical system is designed for factory loads ONLY. Do not connect aftermarket products to factory grounds outside of the ground battery terminal itself.
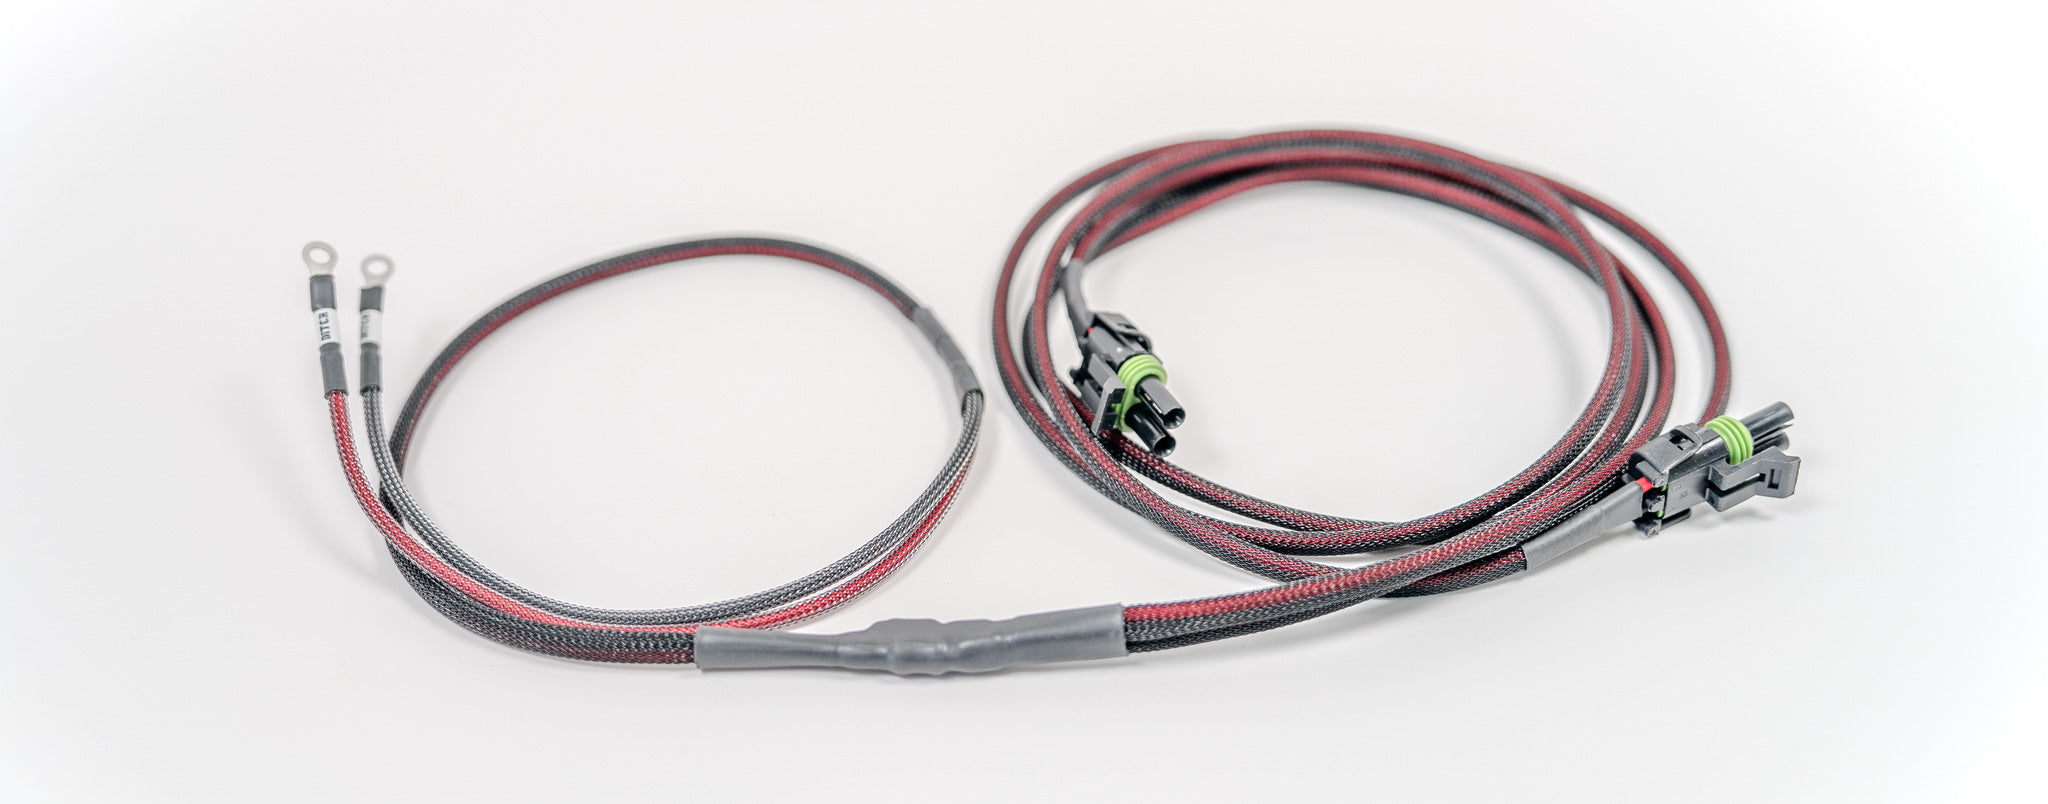
Wiring Harnesses: Why They Exist and Why They Matter
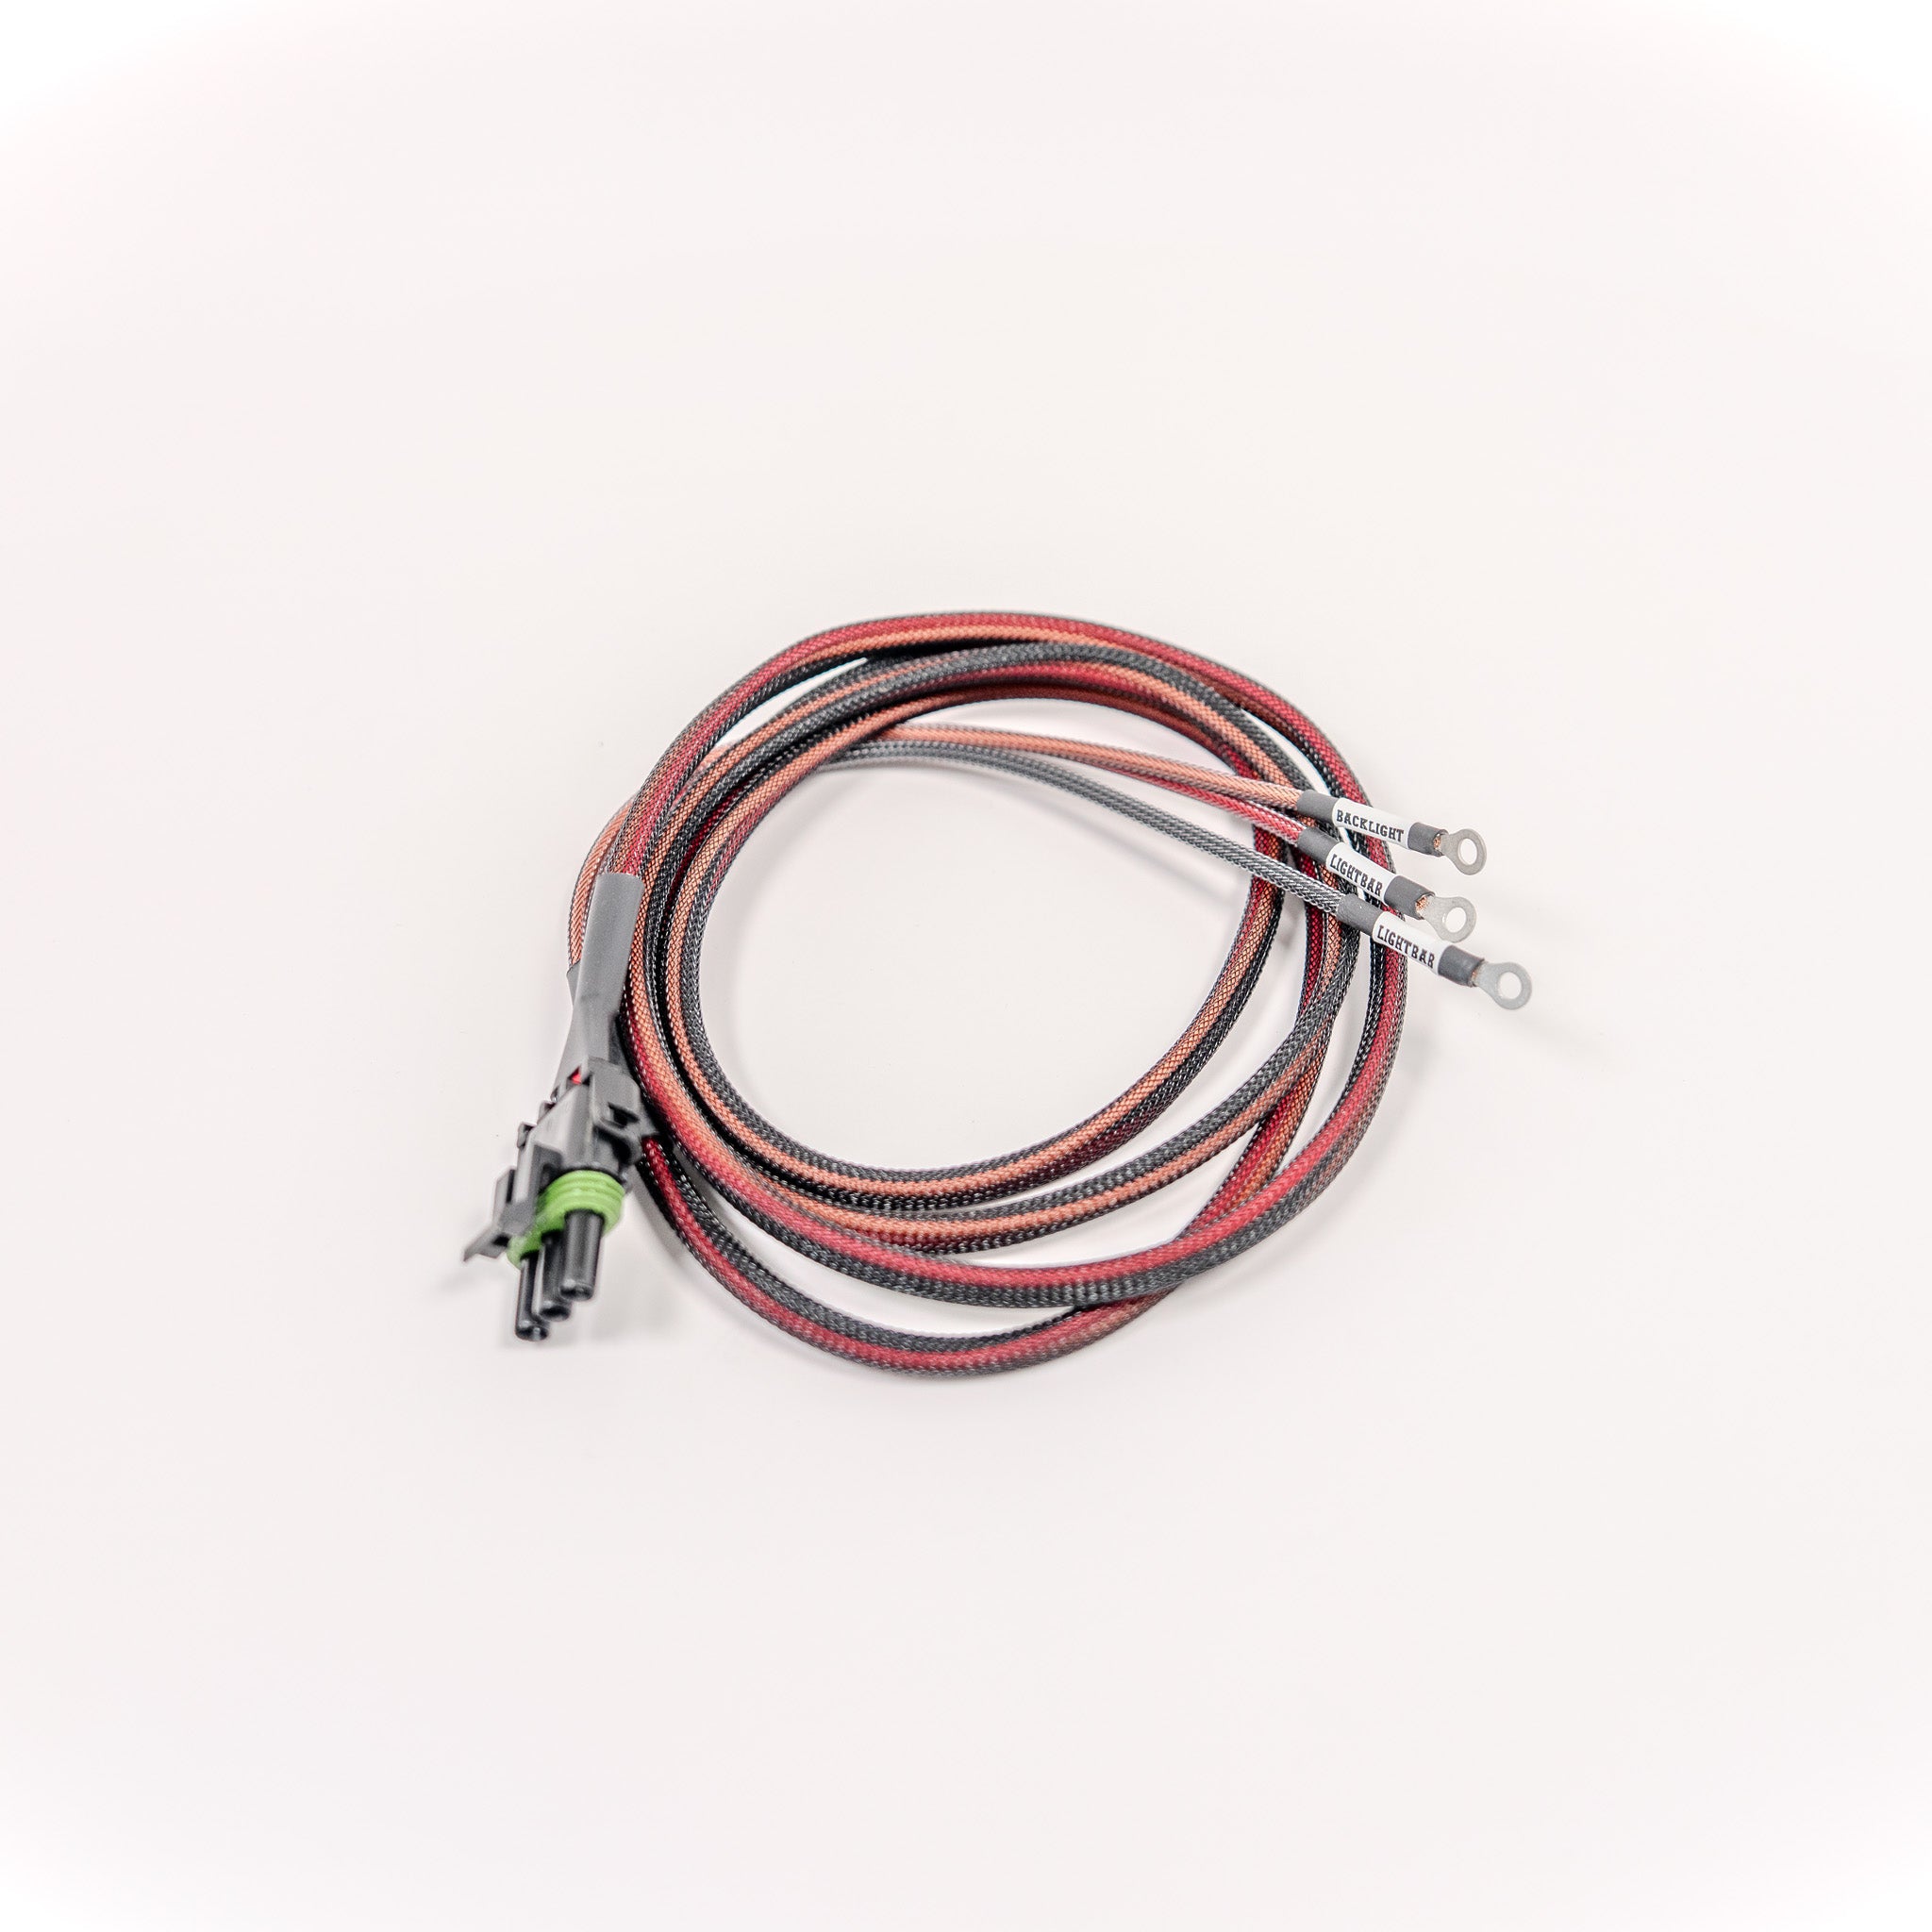
A wiring harness is a pre-engineered package that includes the wire, connectors, relay, fuse, and switch for a specific job, such as connecting a light bar or a pair of pods to your vehicle. Everything is pre-cut to the right length, pre-crimped with the right connectors, and pre-fused for the correct amperage.
You can source all these components individually and build your own harness from scratch. A lot of people do. But here's what usually happens: you end up at the auto parts store three times, you realize the wire gauge you bought is wrong for the run length, the connectors don't match your lights, and the whole thing looks like a rat's nest behind the bumper.
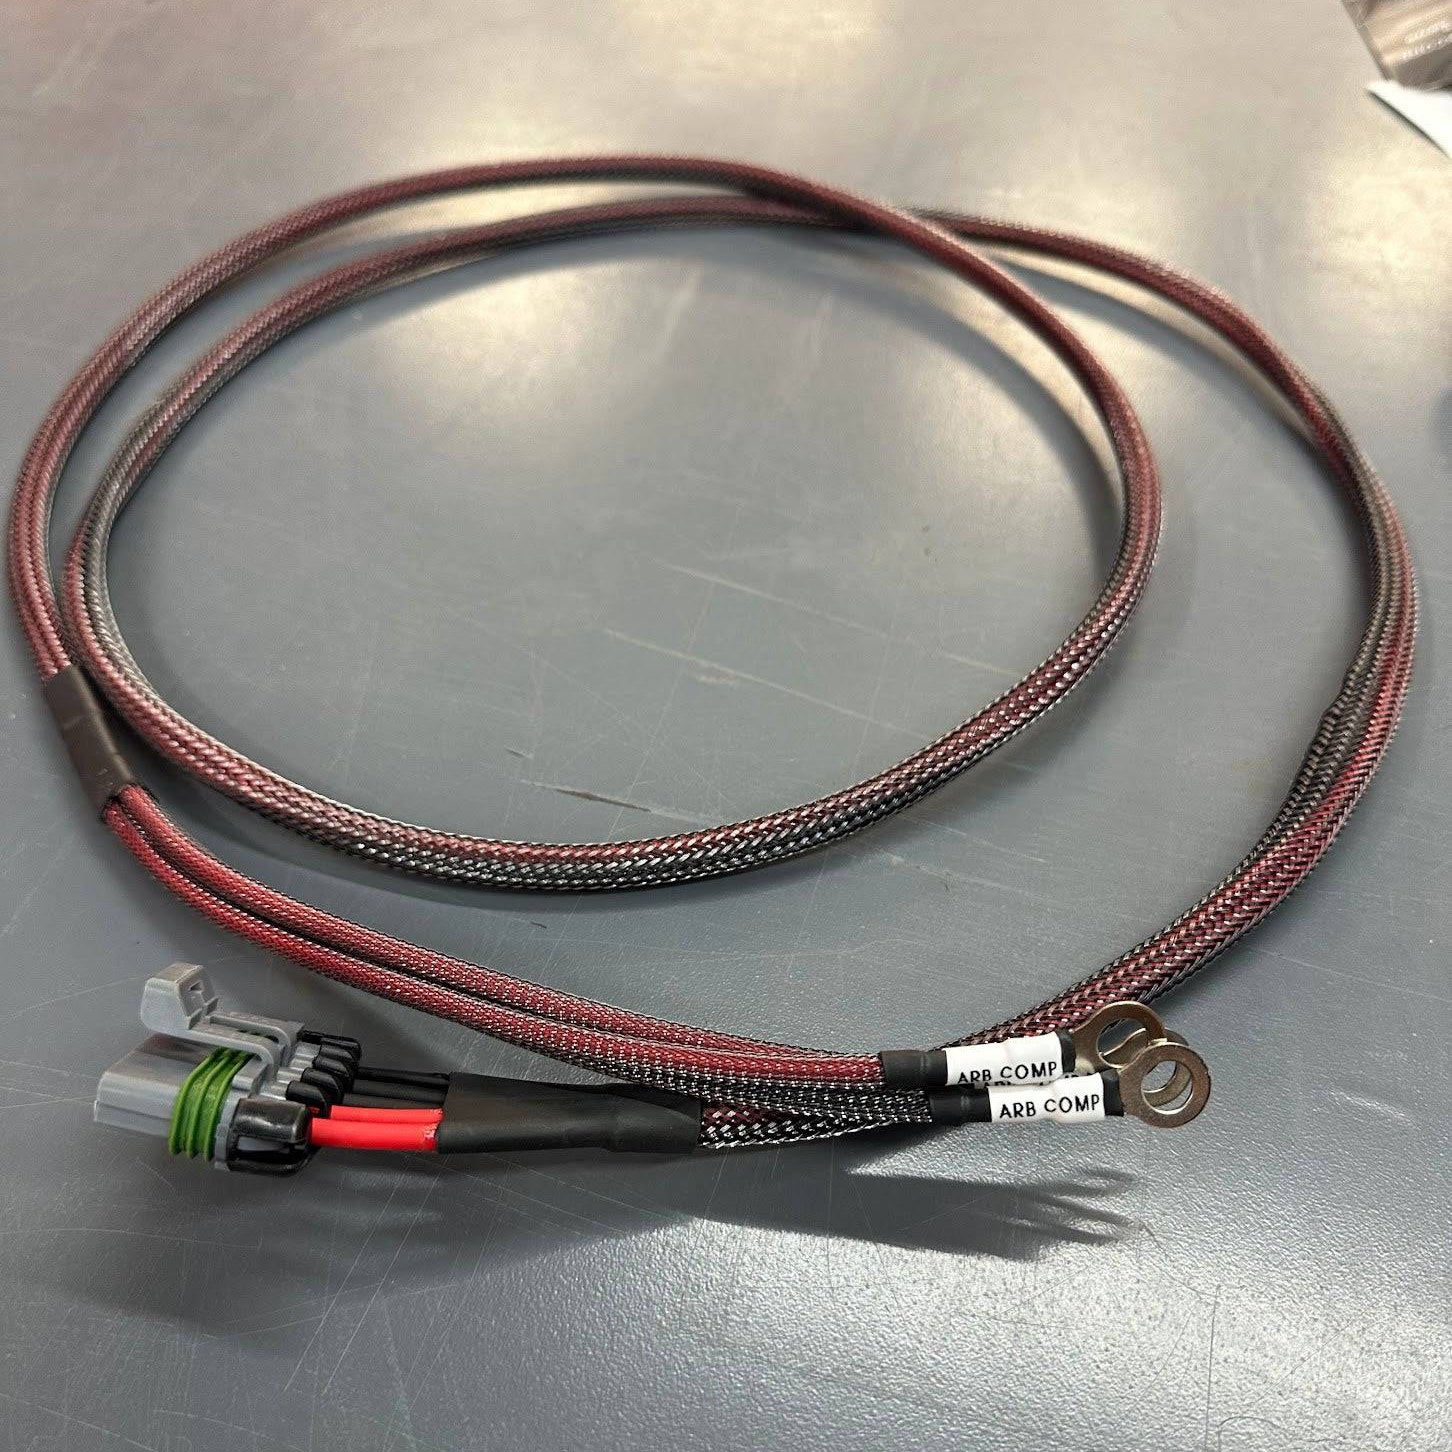
A quality pre-built harness eliminates all of that. The engineering is already done. The wire gauges are matched to the load. The connectors fit your lights. And because everything is built as a unit, the result is clean enough to be proud of - not just functional, but professional-looking.
This is especially true for vehicle-specific harnesses that are designed to follow the factory wiring paths of your particular truck. No guessing about where to route things. No drilling holes in the wrong spot. Plug in, route, connect, done.
Planning Your Build: Start With the End in Mind
Before you buy a single component, answer these three questions:
1. What accessories do I want to run - now and in the future?
Make the full list. Light bar, pods, rock lights, compressor, fridge, interior lighting, ham radio - all of it. You don't have to install everything at once, but you want to plan the electrical backbone big enough to support the full vision. Adding capacity later means re-running wires or upgrading components, and nobody wants to do that twice.
2. What's my total amp draw?
Add up the amp ratings of every accessory on your list. This number tells you whether your stock alternator can keep up, whether you need a dual battery system, and what size main power feed to run. Most stock alternators produce 120–180 amps, but the factory vehicle systems already consume a significant portion of that. If your accessories push your total draw past what the alternator can sustain, you'll want to look at a dual battery setup with a DC-DC charger to isolate your accessories from your starter battery.
3. How do I want to control everything?
This is the switch question. If you're running one set of lights, a simple rocker switch might be all you need. If you're building out a full overland rig with more than just one set of lights a switching system like the Garmin PowerSwitch will save you a tremendous amount of wiring complexity and give you control options that aren't possible with mechanical switches.
The Install: Tips That Save You Hours
Once you've got a plan and your components in hand, here are the things that separate a clean build from a frustrating weekend:
Disconnect the battery first. Always. Every time. This is non-negotiable. One accidental short circuit with a live battery can fry electronics, weld a wrench to a terminal, or worse.
Route wires away from heat, moving parts, and sharp edges. Follow factory wiring paths wherever possible — they exist because the engineers already figured out the safe routes. Use braided sheathing or wire conduit to protect runs. Secure everything with zip ties or adhesive mounts at regular intervals so nothing flaps or rubs.
Make clean connections. If you're crimping, use a proper ratcheting crimper - not pliers. Do not solder. Solder is outdated and unreliable, especially for off-road applications, which see a ton of vibration. Every connection point is a potential failure point, so treat them all with respect.
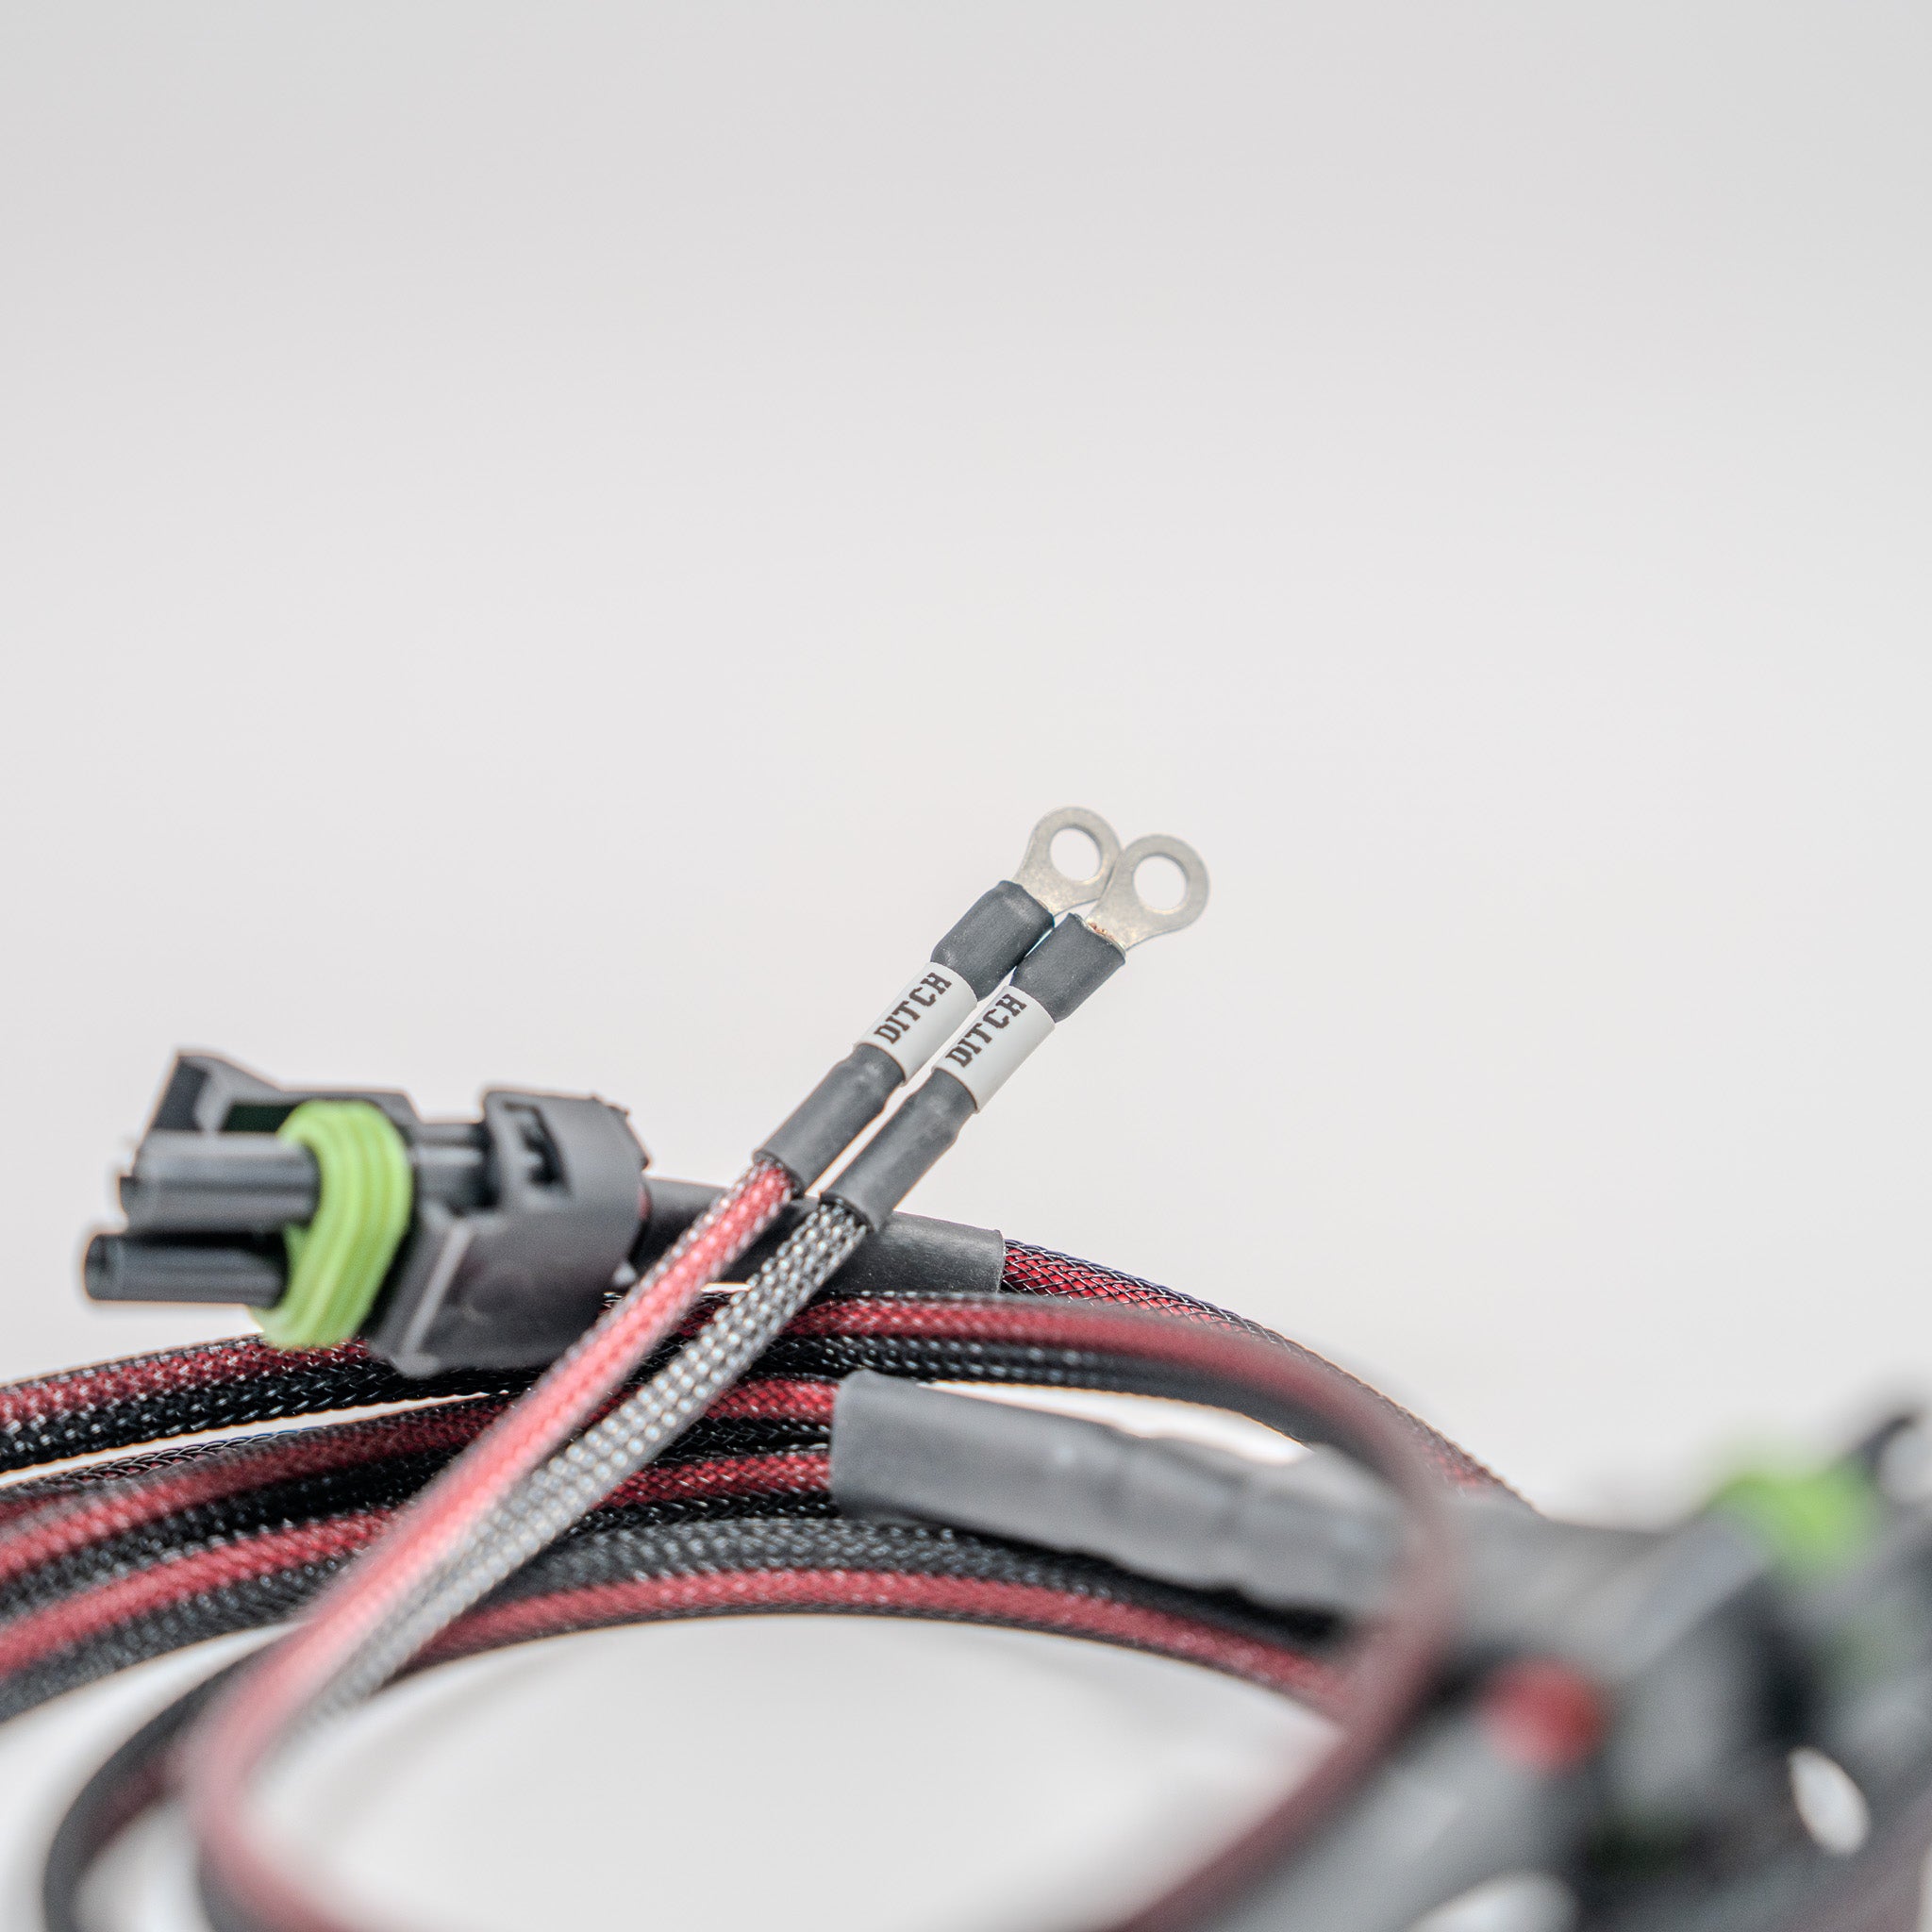
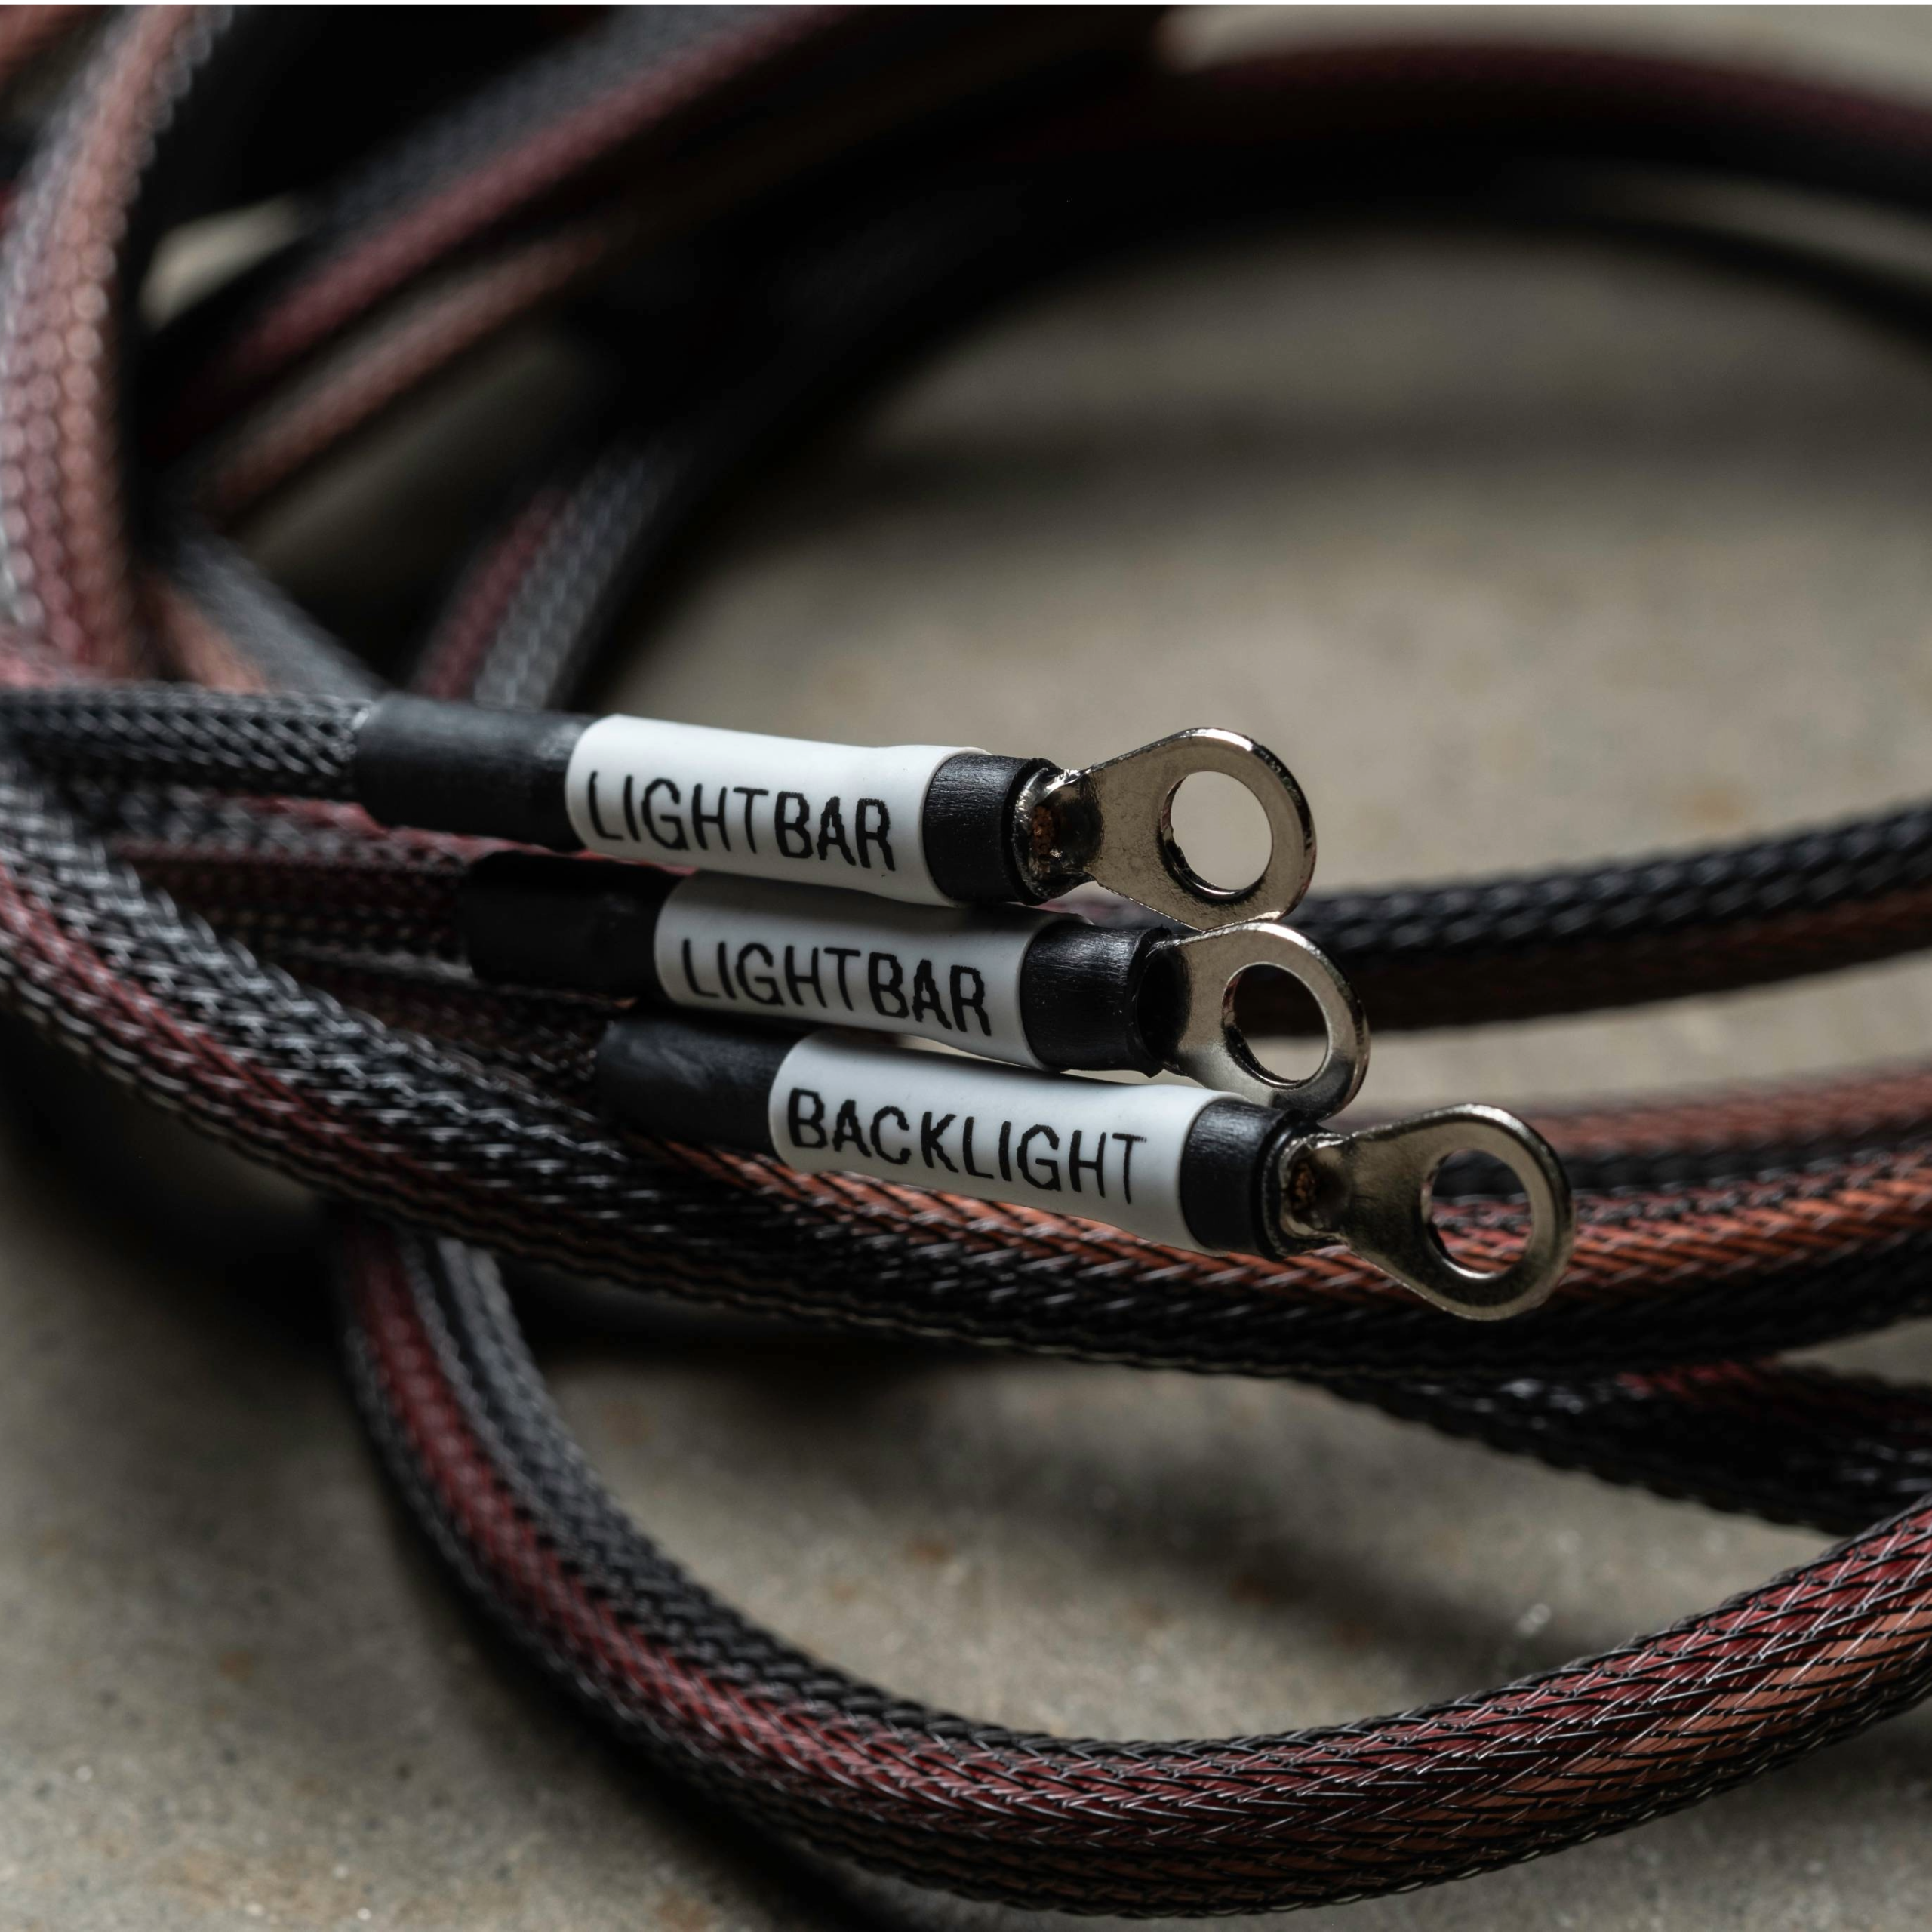
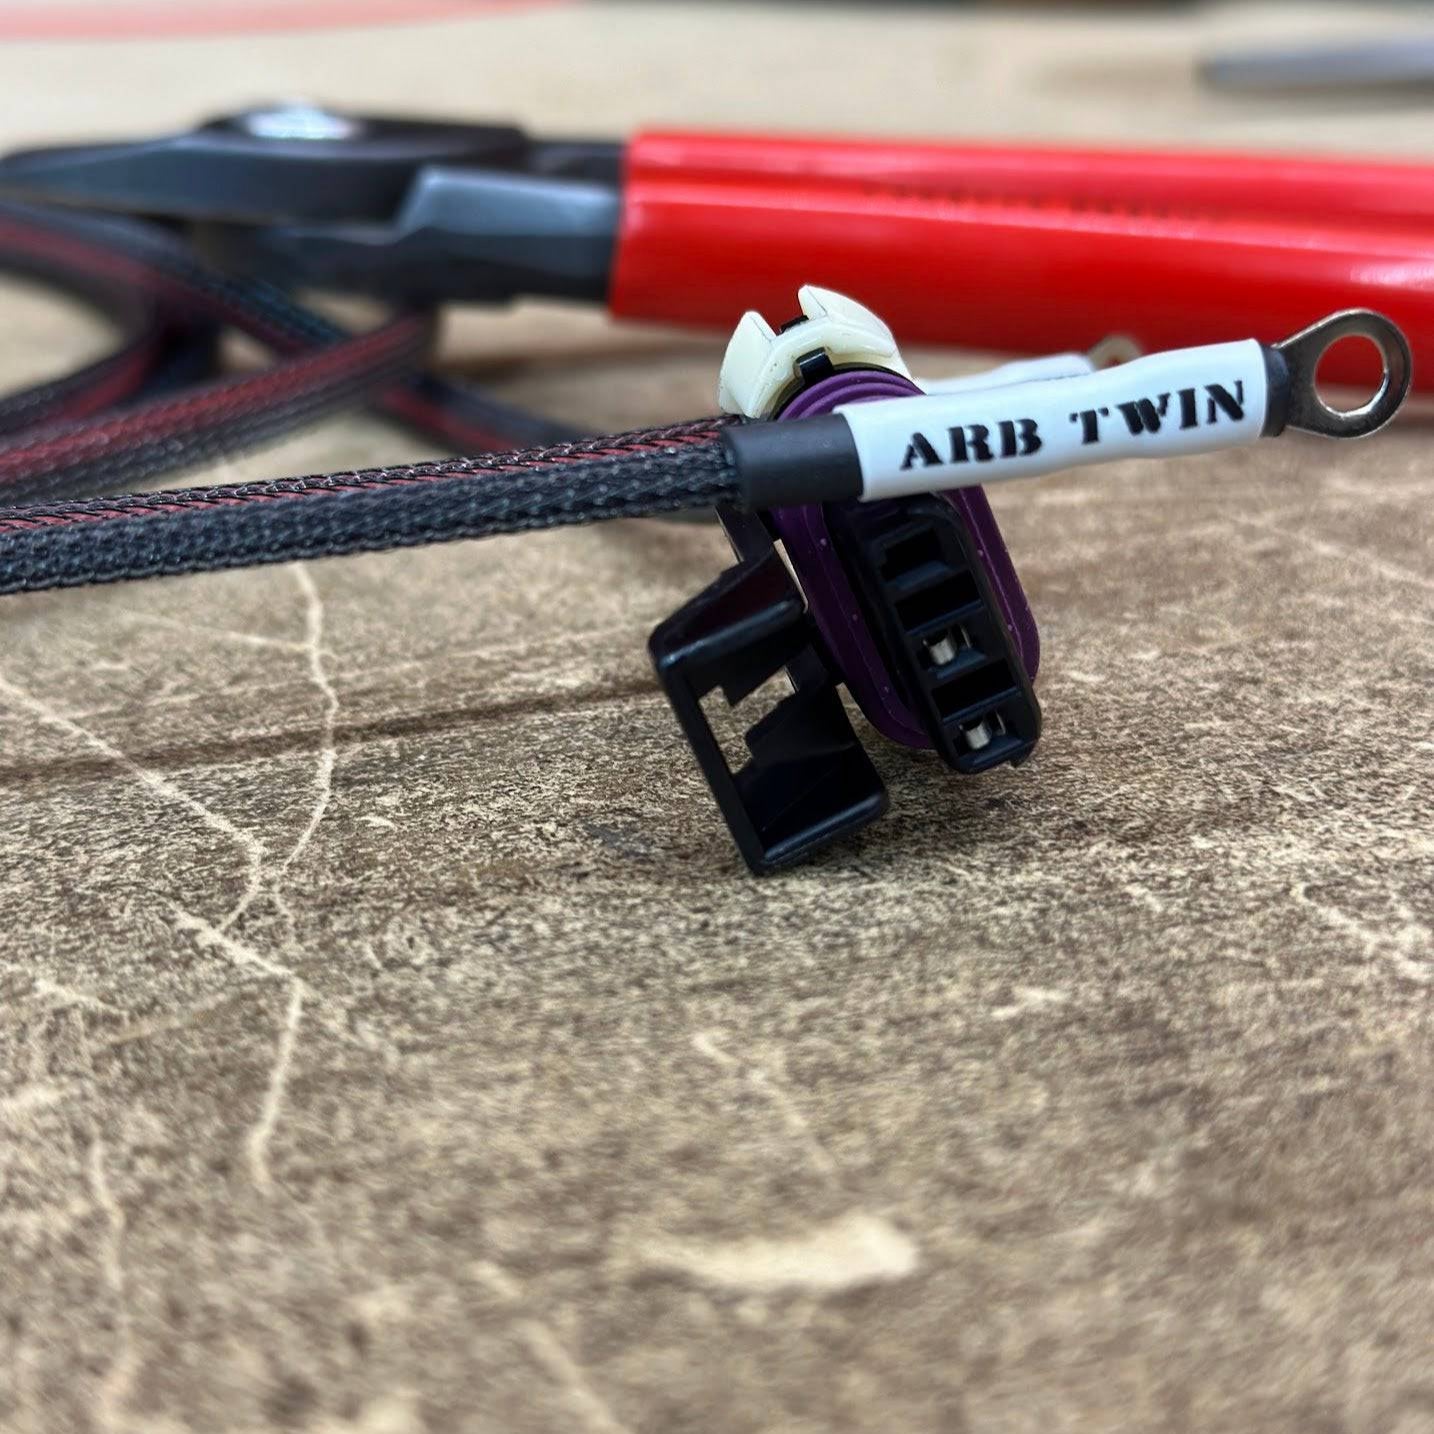
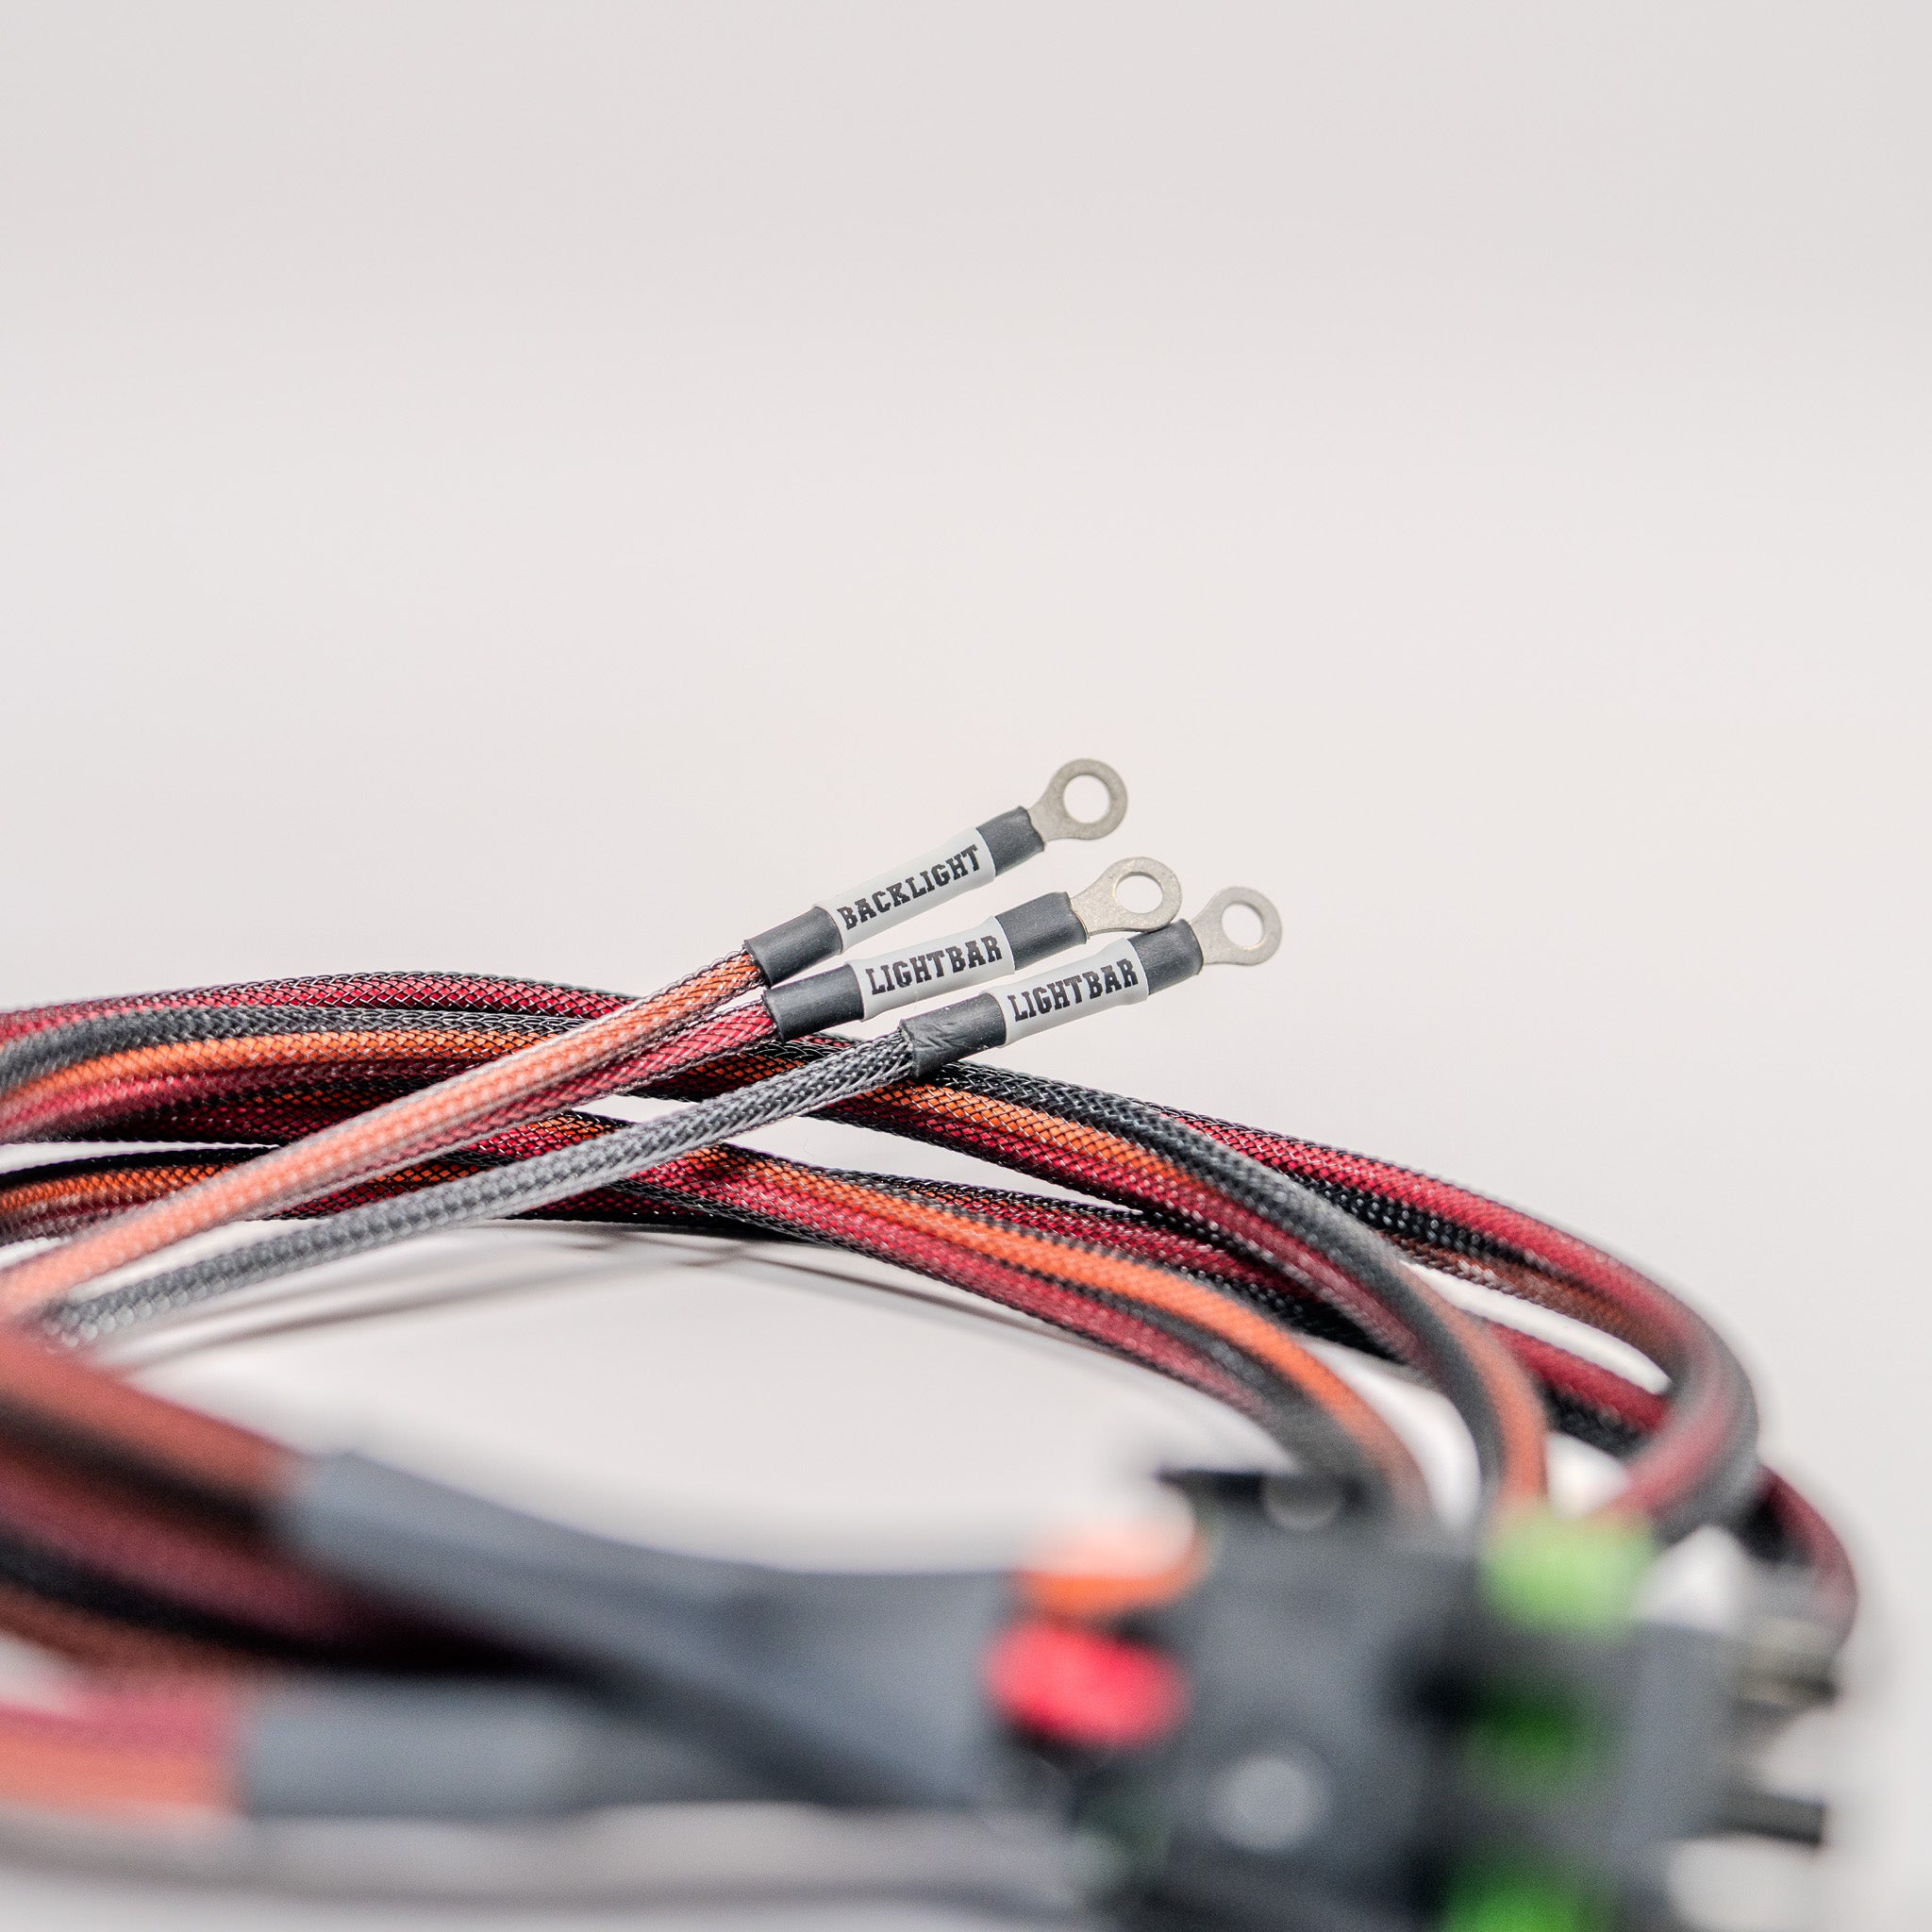
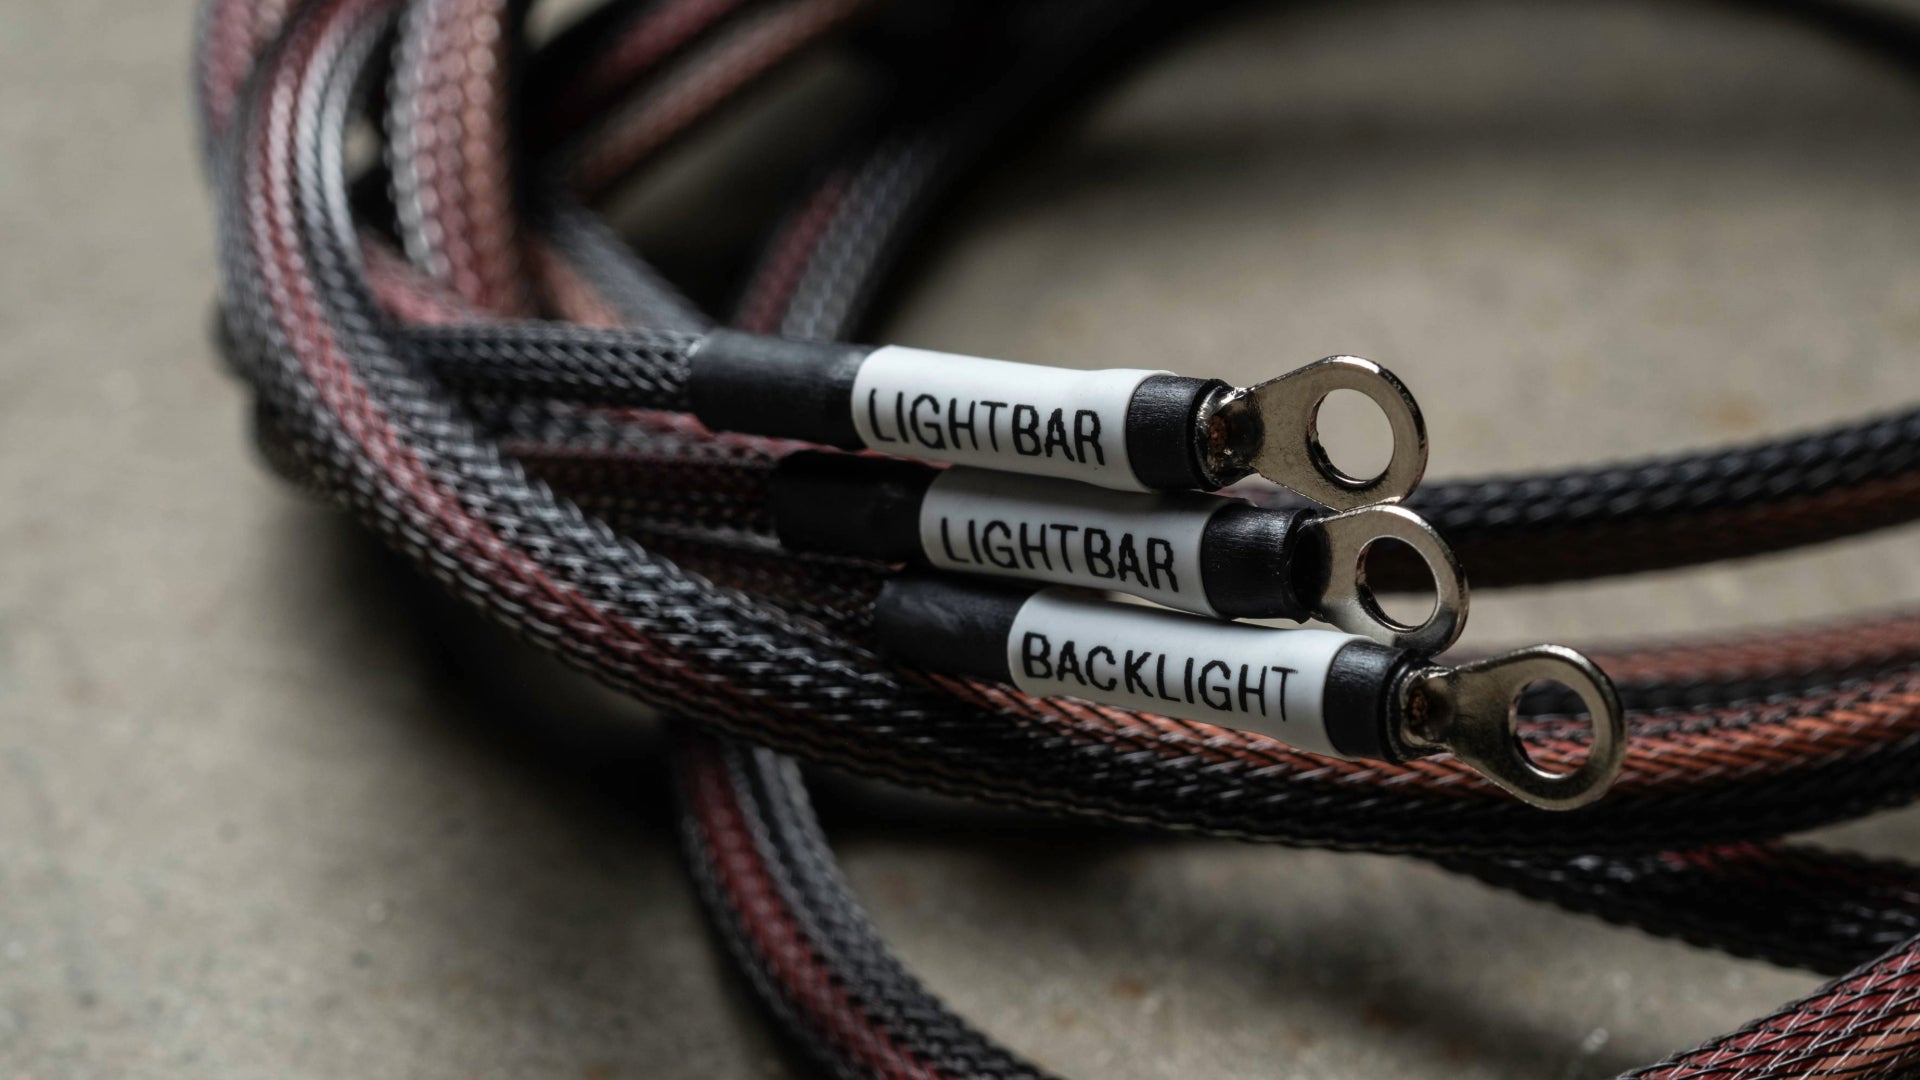
Label your wires. Future you will be grateful. When you need to troubleshoot a flickering pod at 9 PM before a trip, labeled wires turn a two-hour hunt into a two-minute fix.
Test before you button everything up. Reconnect the battery and test every circuit before you put the covers back on and zip-tie everything into its final position. Finding a problem with easy access is worlds better than finding it after everything is tucked away.
When to Consider a Dual Battery System
A single battery works fine for most lighting setups. Your alternator charges it while you drive, and the accessories draw from it when they're on. Simple.
But the equation changes when you want to run accessories with the engine off — at camp, on a trail break, overnight. A fridge, interior lighting, a fan — these draw power for hours, and if they're pulling from your starter battery, you might wake up to a truck that won't start.
A dual battery system adds a second (auxiliary) battery dedicated to accessories, isolated from the starter battery by a DC-DC charger. While you drive, the charger keeps both batteries topped off. When you park, your accessories drain the auxiliary battery and leave the starter battery untouched.
Consider a dual battery system if any of these sound like you: you run a fridge or freezer, you camp with electrical accessories and no hookups, you have a high total amp draw from multiple accessories, or you use power-hungry equipment like a winch or high-output lighting for extended periods.
If you are considering a dual battery system, reach out. We have more than a few of them being developed at the moment as plug-and-play kits.
Common Beginner Mistakes (and How to Avoid Them)
Undersized wire. This is the most dangerous mistake. A wire that's too thin for the current it's carrying will heat up, potentially melting insulation and starting a fire. Always size your wire for the full potential draw of the circuit, not just what you think you'll use day-to-day. When in doubt, go one gauge thicker.
Missing or wrong fuse. Every circuit needs a fuse. It's tempting to skip the fuse "just to test" — don't. A fuse costs cents. A wiring fire costs everything.
Bad grounds. If your lights are dim, flickering, or behaving strangely, check your ground connections first. Clean the contact point down to bare metal, use a star washer for bite, and apply dielectric grease to prevent future corrosion.
Too many taps on the factory fuse box. Add-a-fuse adapters and fuse taps are fine for one or two low-draw accessories, but they're not a substitute for proper power distribution. If you're running more than a couple of circuits, bring a dedicated power feed from the battery to a fuse block and distribute from there.
Spaghetti wiring. A mess of loose wires stuffed behind the bumper is an invitation for chafing, shorts, and future headaches. Take the time to bundle, loom, and secure your wiring. A clean install isn't just about looks - it's about reliability on the trail, where a failure can mean getting stuck miles from help.
Frequently Asked Questions
What wire gauge do I need for off-road lights?
It depends on the amp draw and wire run length. A single LED light bar drawing 10–15 amps over a 10-foot run typically calls for 12 AWG wire. For lower-draw pods under 5 amps, 16 AWG is usually enough. When in doubt, go one gauge thicker — a slightly oversized wire is always safer than an undersized one. Check our wire sizing guide for the full chart.
Do I need a relay for my off-road lights?
Yes, you will need a realy or a switching system, such as a Garmin PowerSwitch for most offroad lighting. A relay lets a small, low-amp switch circuit control a high-amp light circuit. Without one, the full current flows through your switch and cabin wiring, which can overheat thin wires and damage switches. Any accessory drawing more than about 5 amps should be relay-controlled.
What is a wiring harness and do I really need one?
A wiring harness is a pre-built bundle of wires, connectors, relays, and fuses designed for a specific job. You can build your own from individual components, but a quality harness saves hours of work, eliminates wire gauge guesswork, and results in a dramatically cleaner install. For most people, it's the difference between a weekend project and a frustrating multi-day ordeal. Browse our harness lineup here.
Can I install off-road electrical accessories myself?
Absolutely. Most off-road electrical upgrades are well within DIY reach if you have a basic understanding of positive and negative circuits, the right harness or kit, and a few common hand tools. Pre-wired, plug-and-play harnesses have made the job dramatically simpler compared to building wiring from scratch. And if you get stuck, we're here to help.
What's the difference between a rocker switch panel and a Garmin PowerSwitch?
A traditional switch panel uses mechanical toggles or rockers with individual wiring runs to each accessory. A Garmin PowerSwitch is a solid-state, digitally-controlled system - a control box mounts under the hood, and you control everything from a phone app, Garmin GPS, Apple Carplay, Android Auto, factory upfitters, or programmable buttons. It simplifies wiring considerably and adds features such as dimming, strobe patterns, and automatic triggers.
How do I know if my battery can handle extra accessories?
Add up the total amp draw of everything you're adding and compare it against your alternator's capacity. If your added accessories total more than about 60-80 amps, or if you plan to run things with the engine off, a dual battery system with a DC-DC charger will protect your starter battery and keep your accessories running independently.
Ready to Build?
The electrical side of an off-road build doesn't have to be the scary part. With the right plan and the right components, it can actually be one of the most satisfying parts of the project - the moment you flip a switch and a wall of light comes on exactly the way you wired it.
If you want to skip the guesswork and start with harnesses and components that are engineered to work together, check out our harness collection. Everything is pre-wired and designed for DIY installation with no special tools. And if you hit a snag, our support team is one message away.
Clean. Easy. Safe. That's the goal - and it's absolutely within reach.
The Wiring that came with your lights doesnt stand a chance.
We rely on our trucks off-road, which is why we build harnesses to last. This means the absolute best quality component for every single piece of the harness.
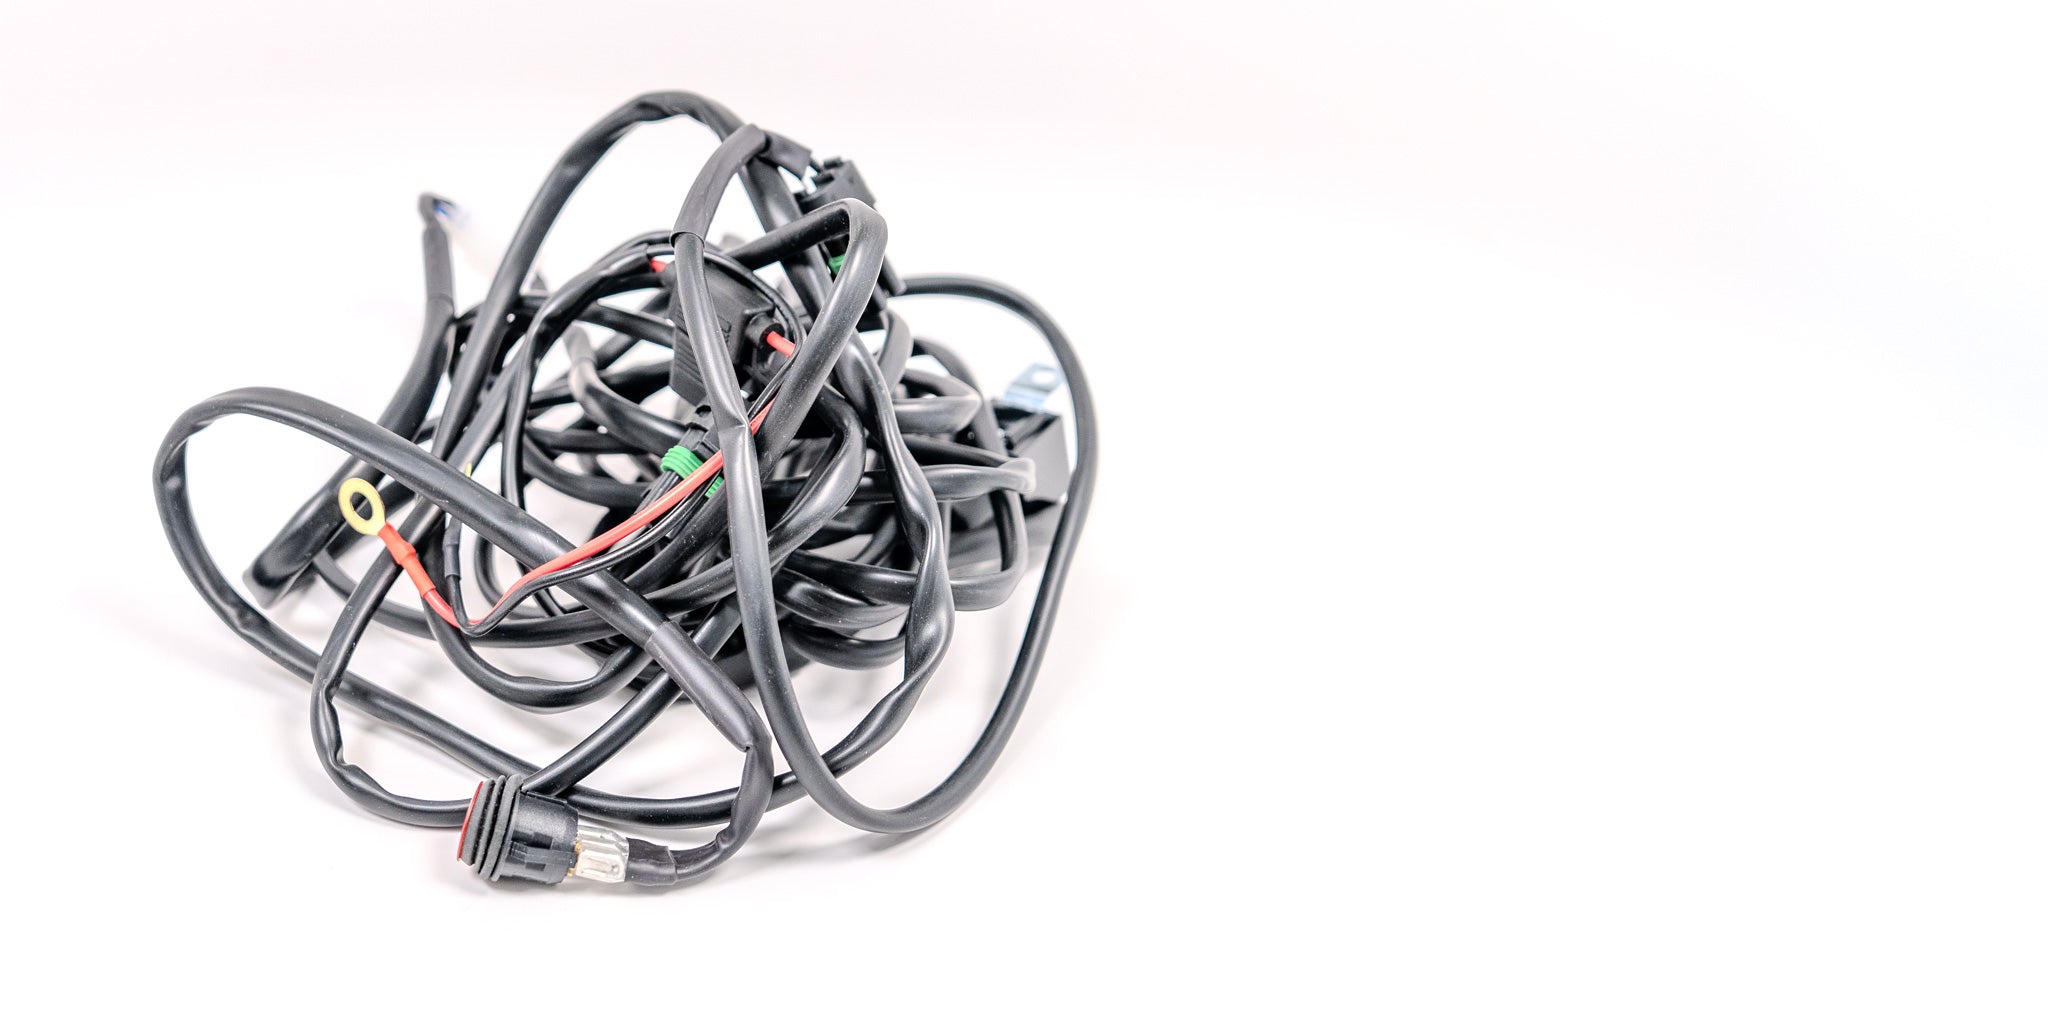
Before
After